Sunday, October 21, 2012

Homemade Railing

The original design for our stairs and loft was a short wall, framed and drywalled. But we wanted to maintain the open feeling of the loft and the cathedral ceiling.  Our builder told us it would be very expensive, so we started looking into designs we could make ourselves.

In trying to maintain a modern feel to the house, we didn't want the traditional wood balusters with lots of ornate features. I had heard of using piping for railings and got some ideas online. Using copper pipe would accent the copper counter top we are installing between the kitchen and dining room.

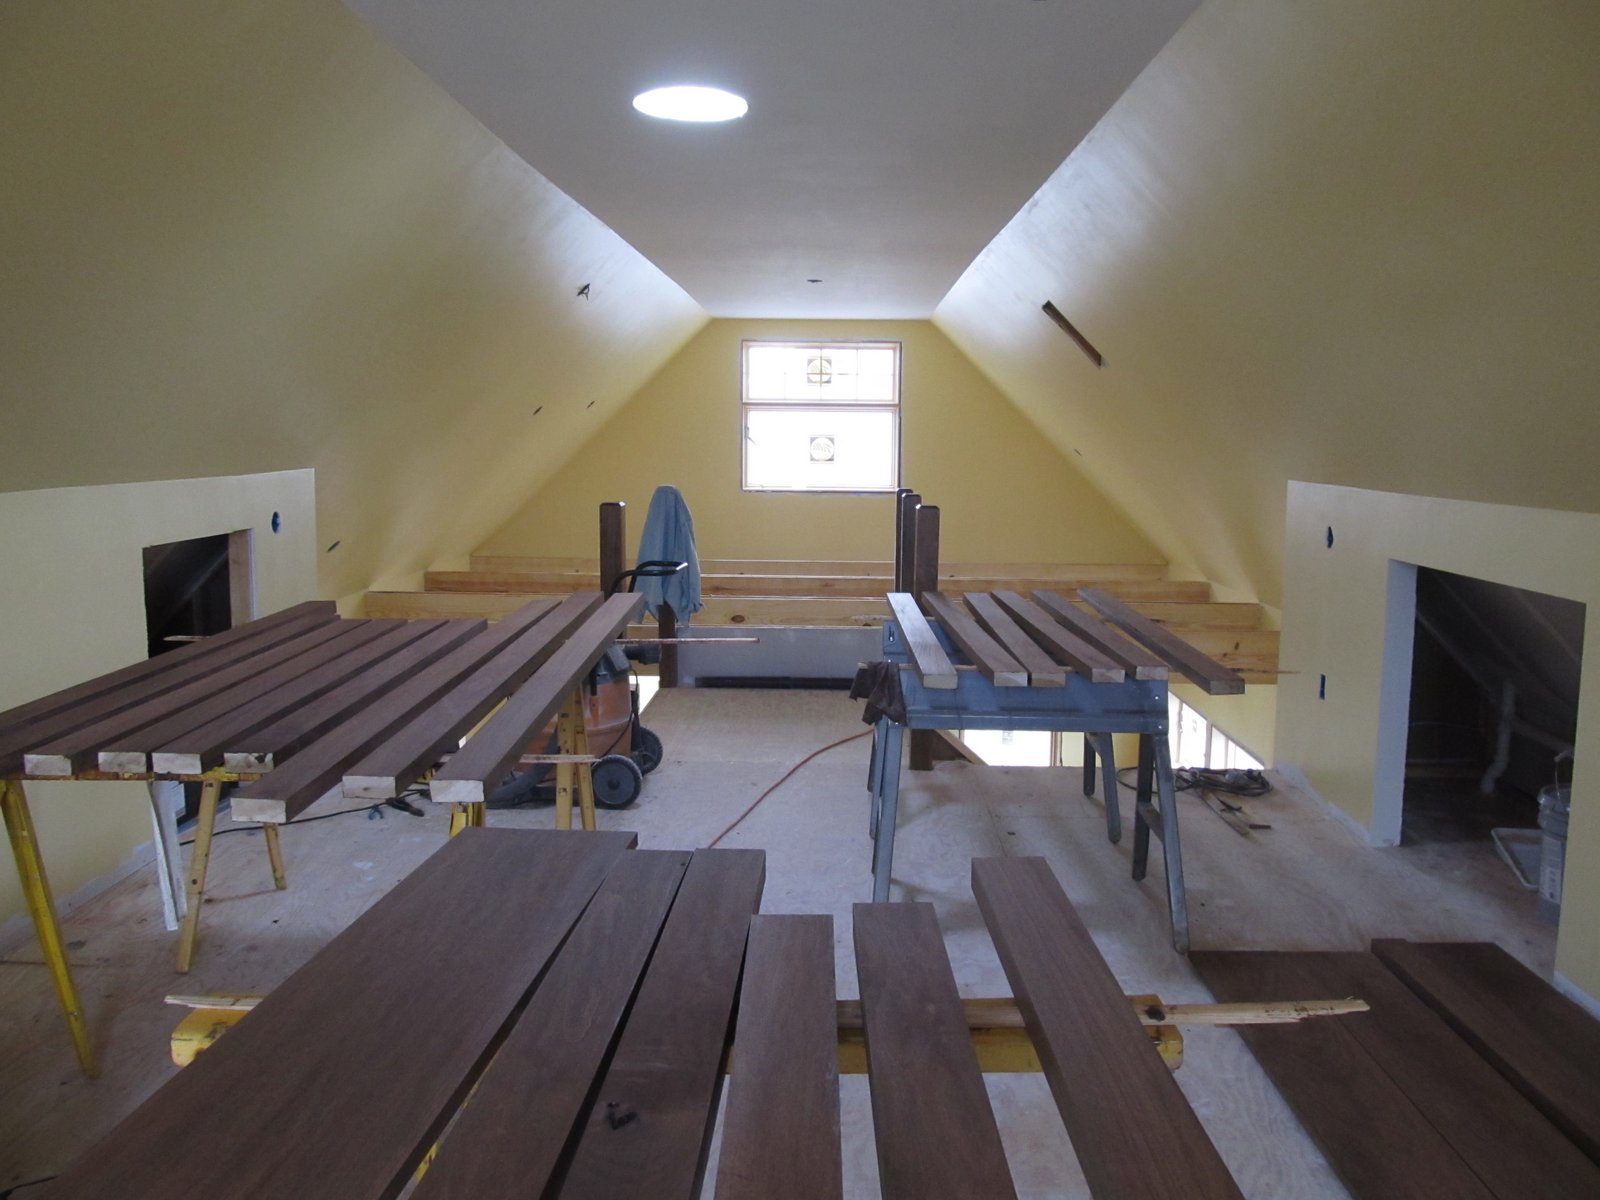
I decided to test the idea first, before we invested too much into this experiment. Here is the "mock up" we did with only 3 of the spindles and rough framing lumber.


It seemed doable, so, after lots of consideration, sketches and calculations, we went for it...


Bottom rail set with pipe spindles inserted.
Setting the top rail of the first section...
 And I'm very happy, as you can plainly see.


And the first section of railing turned out very nicely! 

 Checking the bottom rail for a tight fit. Note: the use of the jigs which keep hold the rail at the same height every time.  I definitely have over-used that the term "jig" in the past week or so.
 Cathy cutting the copper pipe spindles.

 Drilling holes for the spindles.


 The finished product.
I'm adding plugs into the pilot holes I used to hide the fasteners. Each end of the rail is "toe-nailed" with 3" screws on top and bottom.

Posted by Picasa

Sunday, October 7, 2012

Painting!


We selected paints which don't release volatile organic compounds (VOCs) which are air pollutants which have varying health effects, from minor discomfort and irritation to serious illness.  The improved indoor air quality makes it pleasant to work around and provides an immediately livable space.

more info on EPA's website:  http://www.epa.gov/iaq/voc.html 


Dylan selected the colors and painted his own room.
Two walls navy and two walls tan. Nice combo.

The bathroom is called "mariner."  A nice shade of blue.

Loft and great room are daffodil yellow

 Staining the poplar wood for the stair railing to match the walnut trim.


Glass block shower wall.
The cement board behind has a red waterproofing on it now, but white tile
will be installed over that soon.  The floor tile will be pebble tile.

Our bedroom is a minty green called "recycled glass."
Not sure who's job it is to make up these names, but it must be fun.

Putting together drawers for the kitchen cabinets. Hope they'll be installed soon.
Posted by Picasa

Thursday, September 20, 2012

Some Stucco, more to follow


Paper and chicken wire installed


First coat of stucco!


Posted by Picasa

Drywall-- Looking like a real house!


Kitchen and dining room

Great room with stairs
 

Looking toward the loft through the kitchen
 

Loft with storage closets 

Looking at the loft from the scaffold over the great room
 

Looking toward the great room.  note: temporary scaffolding on the beams
 

Looking down on the great room from the stairs
 

Master bedroom


Posted by Picasa

Monday, September 10, 2012

Insulation!

We installed baffles to separate the air venting between the soffit and the roof vents.  This separation increases the performance of the insulation by reducing moisture and cold air interaction with the fiberglass.  Our insulator wanted to use cardboard baffles but we decided to install AccuVent instead.  It is a recycled plastic product which was very easy to manipulate and install.  Seems very durable too.


Then roof and ceiling insulation was installed.  R-36 in the rafters and R-55 in the ceiling.


Prepared for blown-in fiberglass for the walls.

 Fiberglass is blown in and covered with paper.  The stuff gets everywhere! So make sure you put away everything beforehand. Our crew left quite a bit of slop for us to clean up after, but I think they were pretty thorough on the installation.
Posted by Picasa